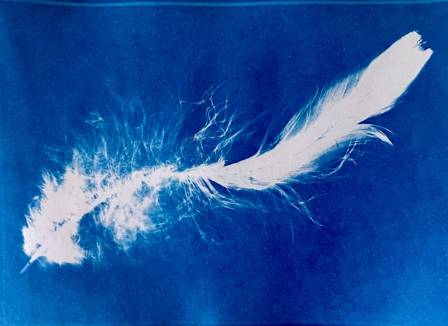
Shelf read
Comprehensive Guide to Artistic Painting on Feathers
Feathers offer a remarkable and unconventional medium for artists, serving as both a naturally beautiful object and a versatile canvas for creative expression. Whether you are illustrating realistic wildlife or abstract patterns, painting on feathers requires a specific set of techniques to handle the delicate texture of the quills while ensuring a lasting finish.
Sebastian Cole Whitaker
Library note
Reading tip
The full chapter continues below on the soft reading shelf.
Stack
Pocket Library
Feathers offer a remarkable and unconventional medium for artists, serving as both a naturally beautiful object and a versatile canvas for creative expression. Whether you are illustrating realistic wildlife or abstract patterns, painting on feathers requires a specific set of techniques to handle the delicate texture of the quills while ensuring a lasting finish.
Selecting and Preparing Your Feather
The success of your artwork begins with choosing the right foundation. While synthetic feathers are an option, natural feathers provide a more authentic and organic aesthetic. When selecting a specimen, consider the natural color and patterns already present; incorporating these into your design can create a more harmonious composition. The shape and size are equally vital—long, slender feathers suit different subjects than wide, rounded ones. Keep in mind that larger feathers offer a more forgiving work area, while smaller ones demand extreme precision and steady hand movements.
Before any paint touches the surface, the feather must be properly prepared. If the barbs have become separated or "torn," you can gently realign them by wiggling the pieces together with your fingers; natural feathers are designed to hook back together with minimal effort. To create a stable painting surface, apply two light coats of a workable fixative spray to both sides. This seals the barbs and prevents the paint from seeping through or causing the feather to separate during the artistic process.
Essential Supplies and Workspace Setup
To begin painting, you will need high-quality acrylic paints, which provide the necessary opacity and flexibility for this medium. Your toolkit should include a variety of brushes, ranging from medium flats for blocking in color to ultra-fine rounds for intricate detailing.
Because you will be working with layers, keep a palette, a water cup, and paper towels nearby for rinsing and drying your brushes. While many artists work from their imagination, having a reference image can be incredibly helpful for maintaining correct proportions and lighting on such a narrow, textured surface.
Mapping the Design with Outlines
The first stage of the actual painting involves creating a faint, deliberate outline to orient your subject on the feather. Select a color that is visible against the feather’s natural tone but easily obscured by later layers, such as a thinned yellow oxide. It is helpful to dilute the paint slightly with water to ensure it flows smoothly over the quills without snagging.
Precision is paramount at this stage because removing or covering mistakes on a feather is significantly more difficult than on a traditional canvas. Use a very light touch, ensuring that you are laying paint on top of the surface rather than dragging the brush through the quills. Always work in the direction of the grain to prevent damaging or breaking the delicate structure of the feather.
Developing Color and Realistic Detail
Once your map is set, begin "blocking out" the primary base colors. At this stage, focus on establishing the mid-tones and darker areas, avoiding pure black or pure white until the very end. The paint can be applied slightly thicker now to ensure total coverage of the feather beneath, though you must maintain a gentle hand to preserve the feather's integrity.
As you move from general shapes to specific details, start layering variations of color to build realism. Utilizing multiple thin, translucent layers is far more effective than applying a single heavy coat of paint. Allow time for each layer to dry before proceeding to the next. Reserve your brightest highlights and deepest shadows for the final finishing touches, as these provide the contrast that brings the image to life.
To complete the project, apply a final thin layer of sprayable fixative to protect the acrylic from flaking or fading. Your finished piece can be mounted in a frame, accented with leather or beadwork, or displayed simply as a standalone work of natural art.
COVER · en
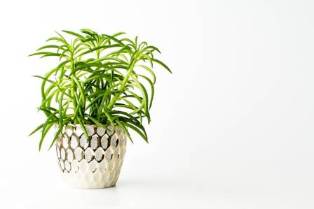
Expert Strategies for Integrating Greenery and Planters into Your Interior
Incorporating vegetation is a sophisticated method for making a home feel both modern and ecologically conscious. However, selecting the right species and containers requires an understanding of both aesthetics and biology. This guide combines the perspectives of interior design and phyto-design to help you curate the perfect botanical environment for your home.
COVER · en
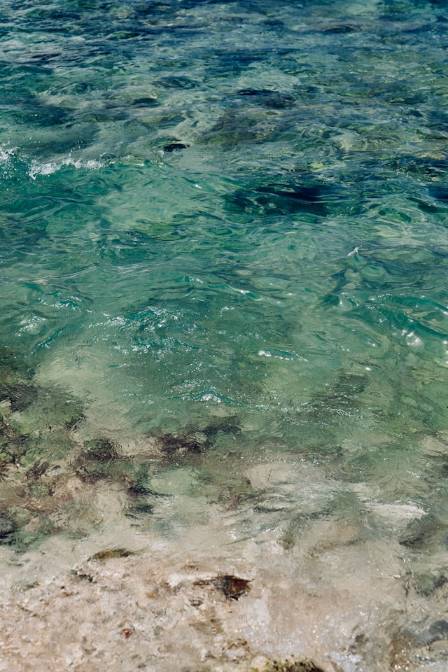
Mastering the Depths: A Comprehensive Guide to Underwater Art
Rendering underwater scenes requires a specialized approach to perspective and light. To create a convincing aquatic environment, an artist must often depict two worlds simultaneously: the atmospheric background above the surface and the submerged reality in the foreground. This transition creates a "window" effect that invites the viewer into the water.
COVER · en

Embrace the Outdoors: 5 Refreshing Activities to Step Outside
Unlock the wonders of nature without the hassle of brainstorming ideas with this handy list of outdoor activities. From rejuvenating work breaks to invigorating fitness plans, discover amazing ways to make the most of the outdoors. Let this guide inspire your next outdoor adventure!
COVER · en

Choosing a Floor Lamp
A floor lamp is one of those home accessories that combines practicality with style. It can provide useful lighting while also serving as an attractive decorative feature that complements the rest of a room. Since floor lamps come in countless shapes, sizes, and designs, it’s easy to find an option that works with almost any decorating style.
COVER · en
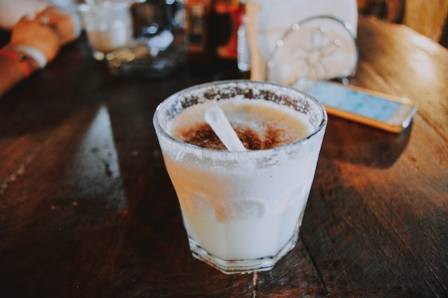
Whipped Cream Vodka Cocktails for Bars & Cafés: Menu-Worthy Recipes & Profit Tips
Whipped cream vodka cocktails are standout menu items for bars, cafés, and dessert shops—they blend playful nostalgia, visual appeal, and high profit margins, while remaining easy to execute consistently. The key to their success lies in stable, picture-perfect whipped cream toppings (powered by professional dispensers and N₂O chargers) and strategic flavor pairings that cater to diverse guest preferences.
COVER · en
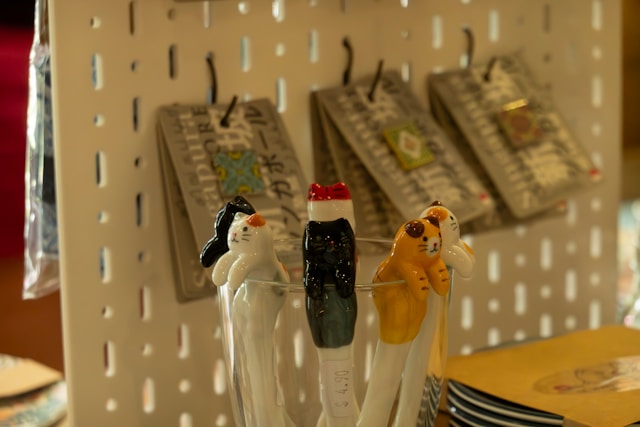
Tiny animal figurines
Welcome to Camp Hollow’s exclusive selection of the World’s Smallest Porcelain Animal Figurines. These miniature animal figures are delicately made from ceramic and porcelain, designed to add a gentle sense of wonder and delight to any collection.